How to Send a Secure Fetch from Clio
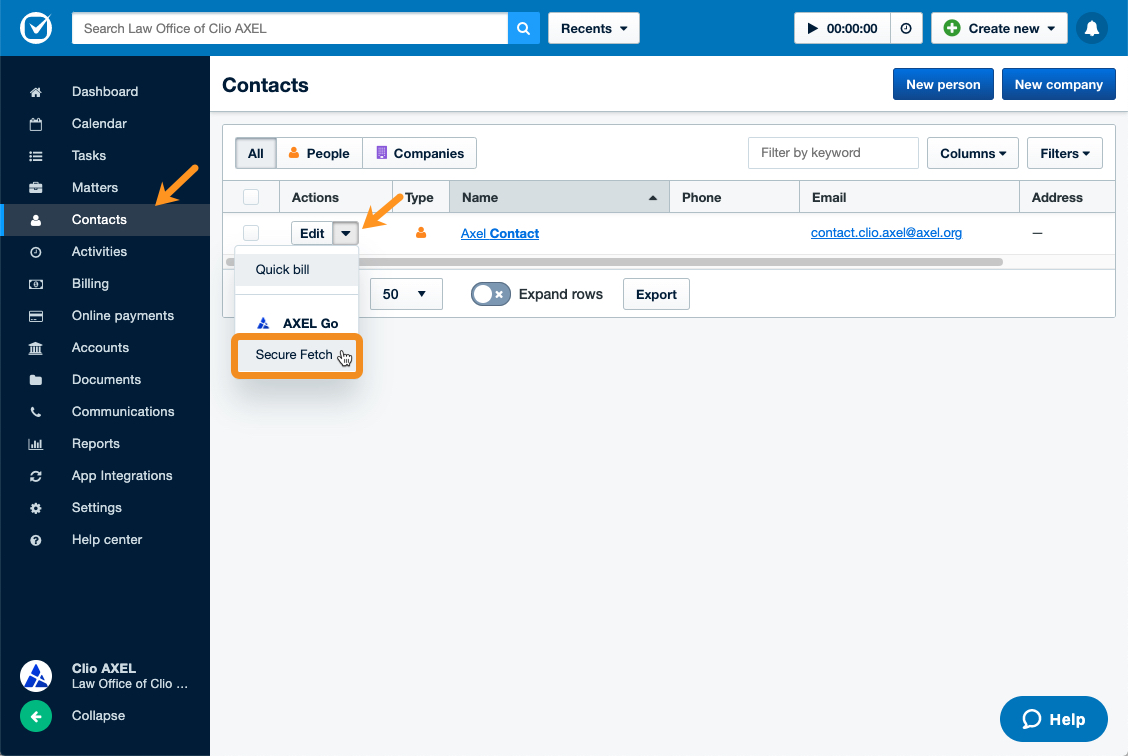
- Click on the drop-down menu next to the contact you want to send a Secure Fetch to.
- From the drop-down menu, select Secure Fetch.
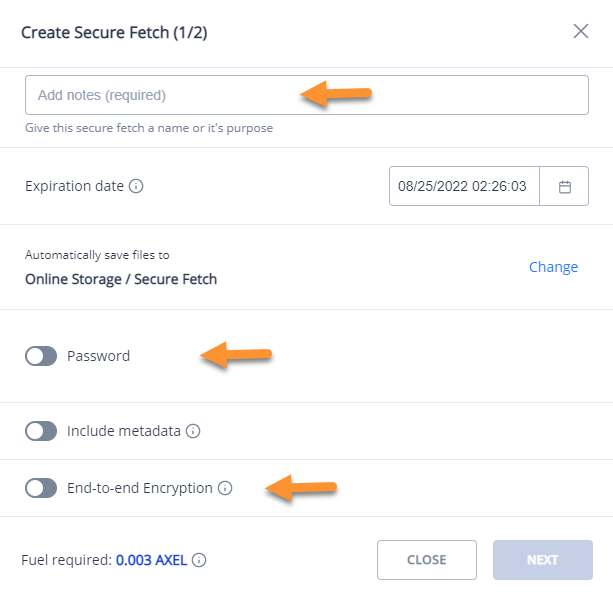
- Add notes, set an expiration date, and set a password.
- Optionally, you can turn on Include Metadata or End-to-end Encryption.
- Click on Next.
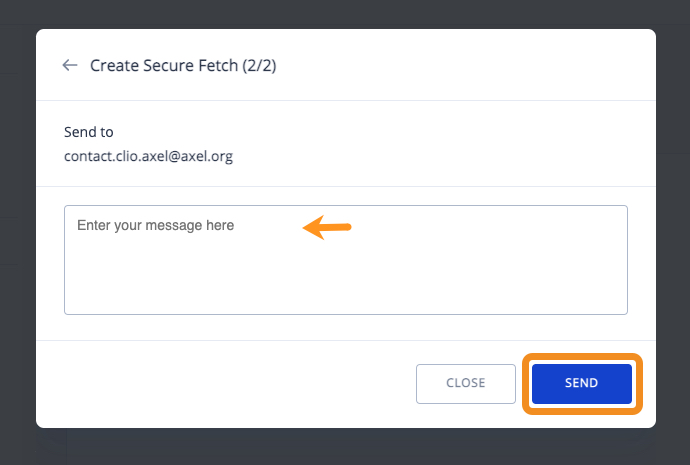
- Enter a message to go along with the Secure Fetch and press Send.
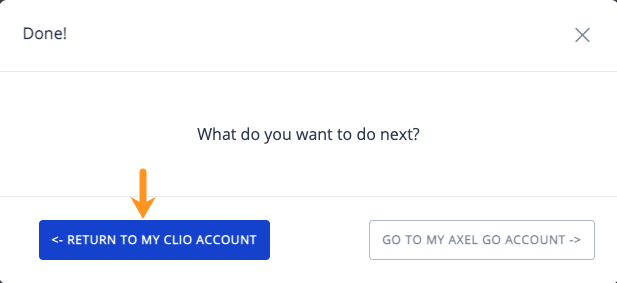
- Now, you can choose to either return to Clio or go to your AXEL Go account.
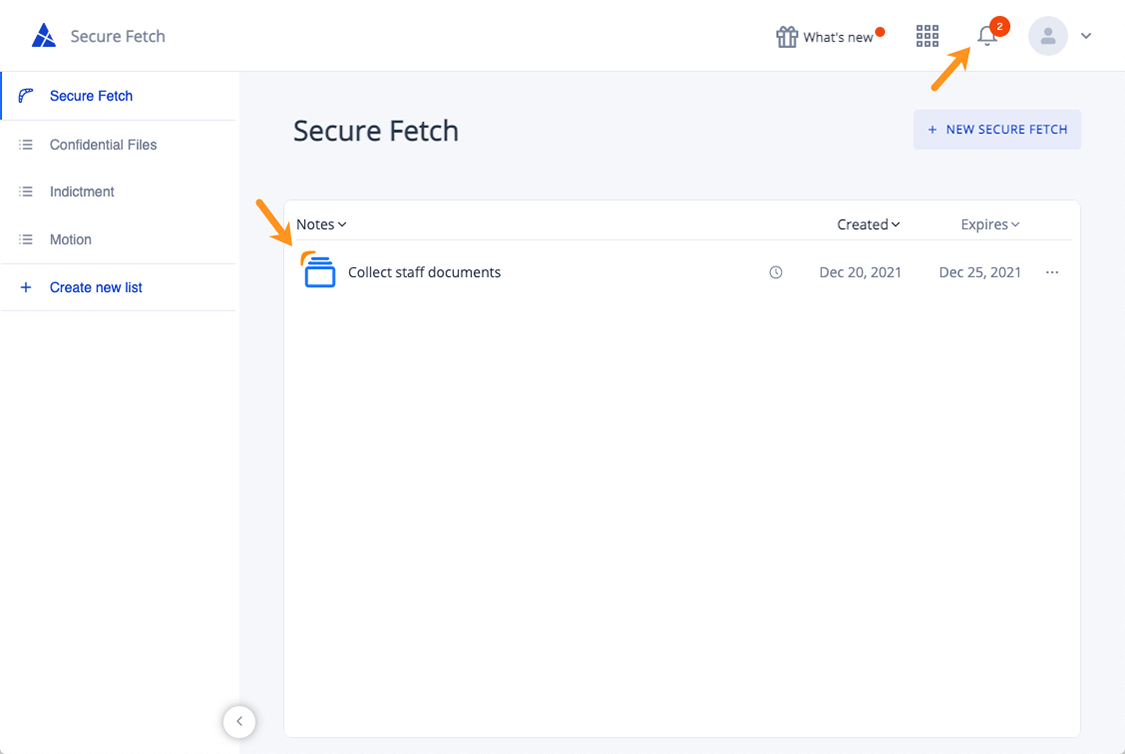
- Wait for recipients to upload files into the Fetch. Once the recipients upload the files, you will receive a notification. Your Secure Fetch will indicate this by changing the boomerang icon color from gray to orange.
How to collect files from a Secure Fetch
- Double-click on the Secure Fetch that you wish to save or download files from
- A Secure Fetch window will open, displaying the files your recipient uploaded.
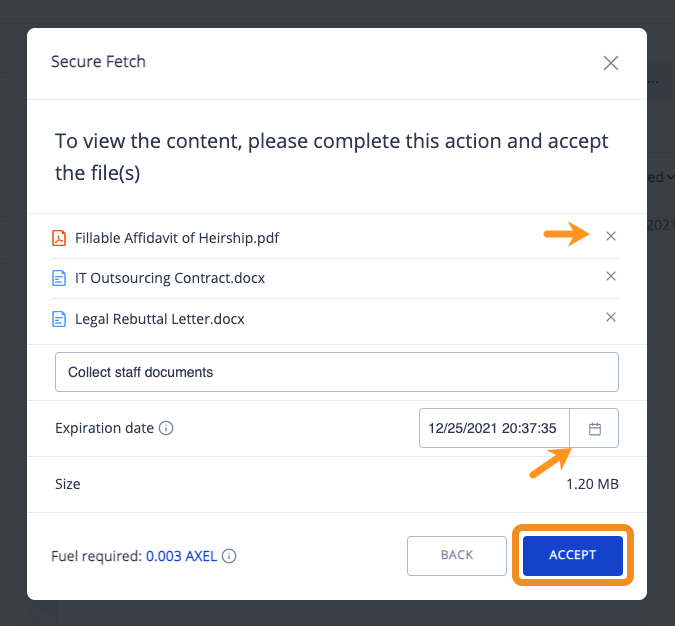
- If you wish to delete a file, click on ‘x’ next to the file.
- When the files all look correct, click on Accept.
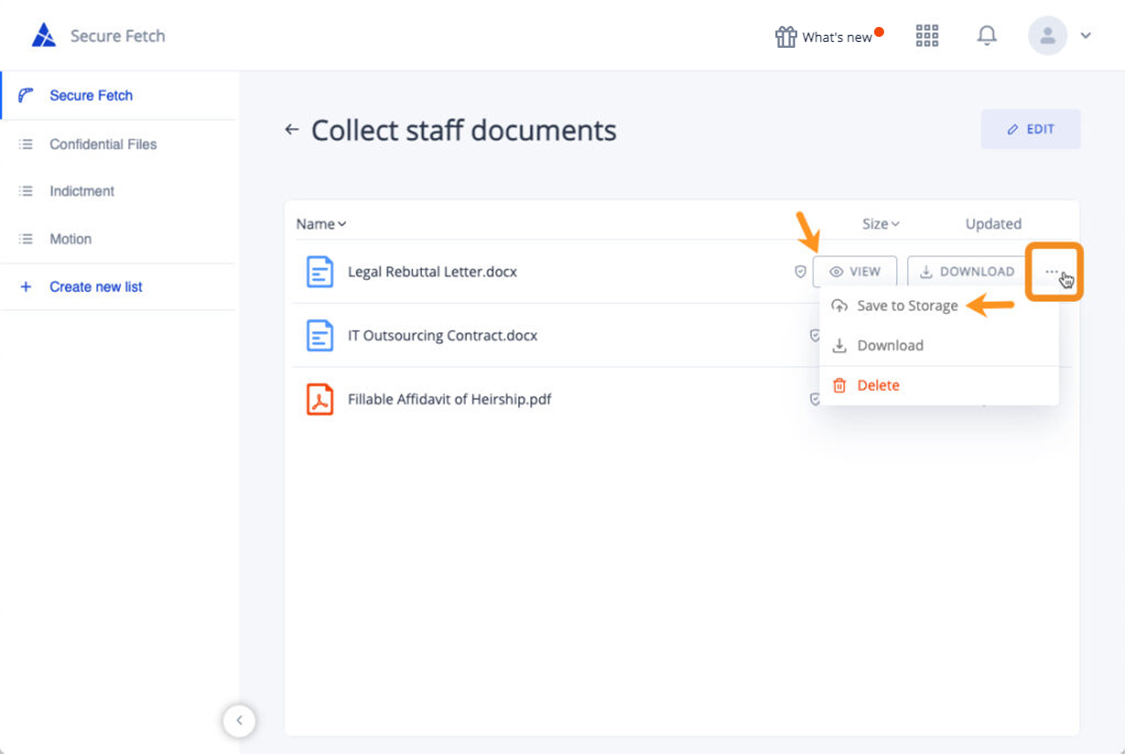
- If you want to save or download the files, you can choose ‘Save to Storage‘ to save the file to your online storage or ‘Download‘ to download individual files.
Pingback: Collect Files – Metadata