What is a CloudLocker
CloudLocker is a personal cloud storage device that you own and control physically as well as digitally. You can stream video or music playlists on the go and instantly locate the files when needed. Store everything you want in your CloudLocker without taking up space in AXEL Go or on other devices.
CloudLocker is a plug-and-play solution that can connect to any local network. After it’s set up, you can access it remotely from your PC/Mac, laptop, smartphone, or tablet. Store and organize files in your CloudLocker directly on your AXEL Go interface. It has all of the easy-to-use sharing and media control features you expect from a modern cloud storage solution.
The key difference between CloudLocker and the typical online cloud storage provider is that your files are stored on a device you own and control rather than a remote, shared server in an unknown location.
How to setup CloudLocker on your account
- Locate the Serial Number and MAC Address of the CloudLocker (located on the bottom of the CloudLocker)
- Sign In to your AXEL Go account on your web app and click on Storage Management.
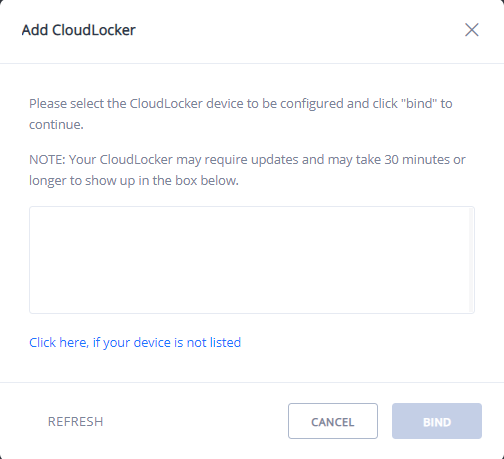
- Click on ADD CLOUDLOCKER
- If your CloudLocker is already connected to your Local Network or WiFi under the same subnet, then the CloudLocker should appear in the device list automatically.
NOTE: If it does not auto-populate, click on the link provided, enter your Serial Number and MAC address, and click on BIND. Our Web app will confirm that CloudLocker was added to your account.
- You can access CloudLocker by clicking on Storage. Your CloudLocker will be listed with its Serial Number.
How to unbind your CloudLocker
- Go back to Storage Management under your account profile.
- Click on the Settings icon, and then select Delete.
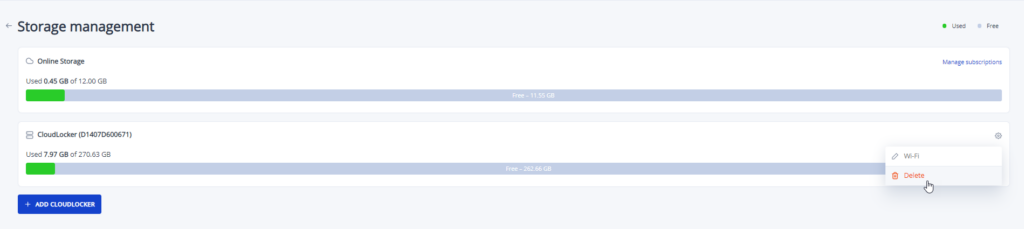
NOTE: Unbinding your CloudLocker will delete all the stored contents. Consider it like a factory reset.
How to Set Up WiFi
NOTE: The device or PC you use to establish a WiFi connection must be in the same local area network and the same subnet (if applicable) as your CloudLocker.
- Connect your CloudLocker to your internet router using an ethernet cable and click on the link displayed on the WiFi setup page.
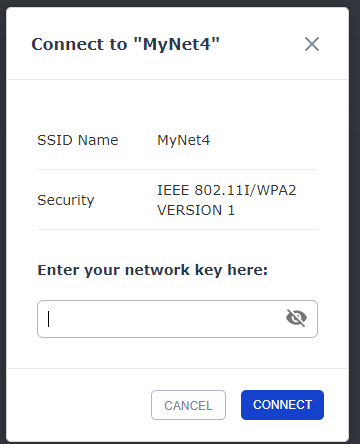
- Follow the On-Screen instructions to setup WiFi
- Enter your Network Key and click on Connect
- Now you can remove the ethernet cable connected to your CloudLocker
NOTE: Changing your router requires setting up your CloudLocker again with the WiFi connection. To reset, connect the ethernet cable and follow the same steps above.